Free Shipping on $50+
Free Shipping on $50+
Ketanga Fitness Retreats puts on fitness vacations all around the world (you can check out the full line up at KetangaFitness.com). On one of their recent fit trips to Tulum, the focus of the trip was recovery and mobility with Coach Chelsea Aguiar, and they used our Tiger Tail Roadsters before and after workouts to help their muscles recover and to learn how to properly roll out all different parts of their body.
The 11-inch rollers are the perfect travel companion, and most people use them to roll out quads, hamstrings, and calves. But Chelsea has a few other less common spots to show you how to roll out that will help prevent injuries and increase mobility.
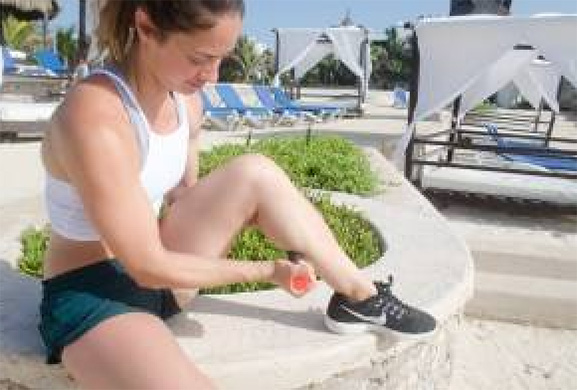
1. The first spot is to place the roller where your 2 calf muscles come together, between your gastroc (gastrocnemius) and soleus which is directly underneath the large bulbous part of your calf. You can move forward and back, side to side, rolling through that tissue to help release tension.
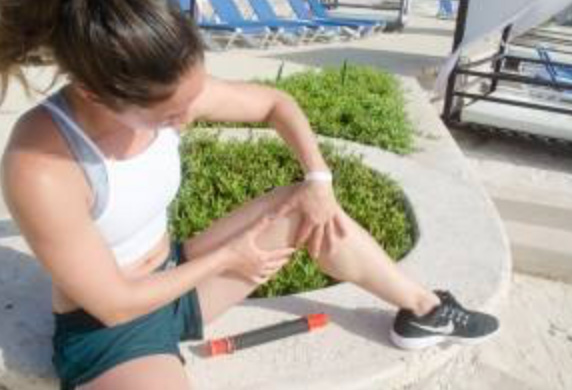
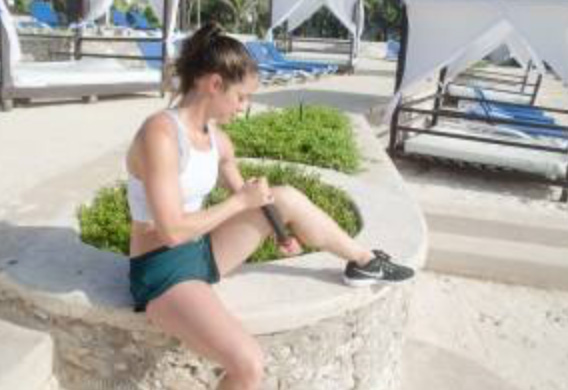
2. Next you’re going to come into the VMO (Vastus Medialis Oblique, another meeting place for many different muscle groups). Tightness in this area is a common cause of knee pain, so it’s really important that you roll out this tissue. You put the foam roller inside the leg above the knee, and roll out in that spot. You don’t want to roll out directly on the knee bone itself, but instead, you want to be in the spot where the hamstring and the quad come together.
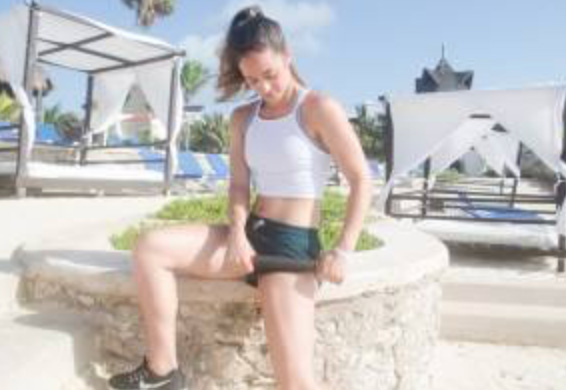
3. The 3rd spot is over your TFL (Tensor Fasciae Latae, where the quad and the hip flexor come together at the top of the hip. You’re going to start right at the top of the thigh, just below the hip bone. You’ll take your Roadster and start-up in the corner and you’ll roll all along the hip crease, where your femur settles into the front of the hip.
Incorporate these 3 moves into your recovery routine and you’ll thank us later! Want more from Ketanga? Check them out on Instagram for daily fitspo: @ketanga_fitness