Calf Muscle Knot Release: A Step-by-Step Self-Treatment Guide
Quick answer: A calf muscle knot release requires sustained pressure — not fast rolling — on specific gastrocnemius and soleus trigger points. Using a firm massage stick with the knee bent reaches the deeper soleus, and finishing with compression wraps helps maintain the release and reduce post-treatment soreness.
A calf muscle knot release sounds simple — press on the tight spot until it lets go — but without the right approach, you can spend weeks rolling the same area with no lasting relief. This guide takes a different angle from general leg-knot advice: it focuses specifically on the gastrocnemius and soleus, explains why those two muscles develop stubborn trigger points, and walks you through a precise, tool-matched protocol you can complete in under 20 minutes.
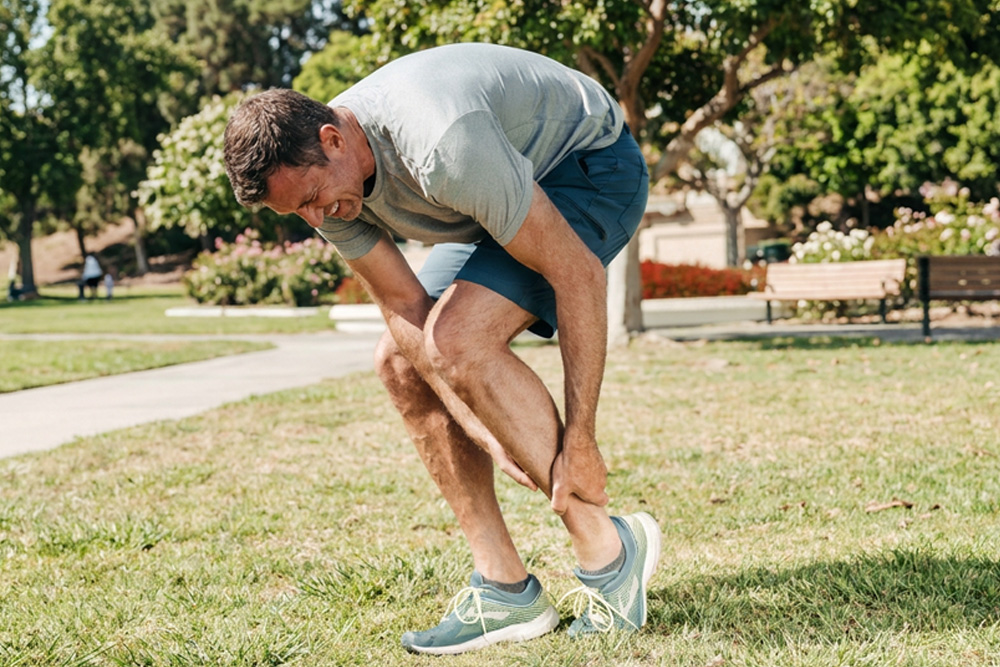
Why Calf Knots Are Particularly Stubborn
The calf is a two-muscle system. The gastrocnemius crosses both the knee and the ankle, while the deeper soleus only crosses the ankle. Both are under near-constant load during walking, running, and even prolonged sitting (when circulation is restricted). When either muscle is overworked or held in a shortened position, sarcomeres lock into a contracted state and form a myofascial trigger point — the hard, tender nodule most people call a knot.
Because the soleus sits beneath the gastrocnemius, surface-level foam rolling often misses it entirely. That is the single biggest reason calf tightness keeps coming back: people treat the outer layer and leave the deeper trigger point untouched.
Myofascial Release: The Mechanism Behind the Method
Myofascial release works by applying sustained, targeted pressure to the connective tissue (fascia) that wraps each muscle fiber. According to research published in the Journal of Bodywork and Movement Therapies, sustained compression on a trigger point increases local blood flow, reduces muscle spindle activity, and allows the locked sarcomeres to reset. For the calf, this means holding pressure on a specific nodule for 20–90 seconds rather than rolling quickly back and forth.
Effective myofascial release for the calf requires enough pressure to reach the soleus, which rules out soft foam rollers for most people. A firmer, smaller-diameter tool — or a pointed hook tool — gives you the mechanical advantage to penetrate both layers.
Trigger Point Therapy: Finding the Right Spots
Trigger point therapy for the calf targets three common locations:
- Upper gastrocnemius: just below the back of the knee, often referring pain down to the heel
- Mid-belly gastrocnemius: the thickest part of the calf, referring pain locally and into the arch
- Soleus: accessed by flexing the knee to 90° (which slackens the gastrocnemius), then pressing deeper into the muscle belly
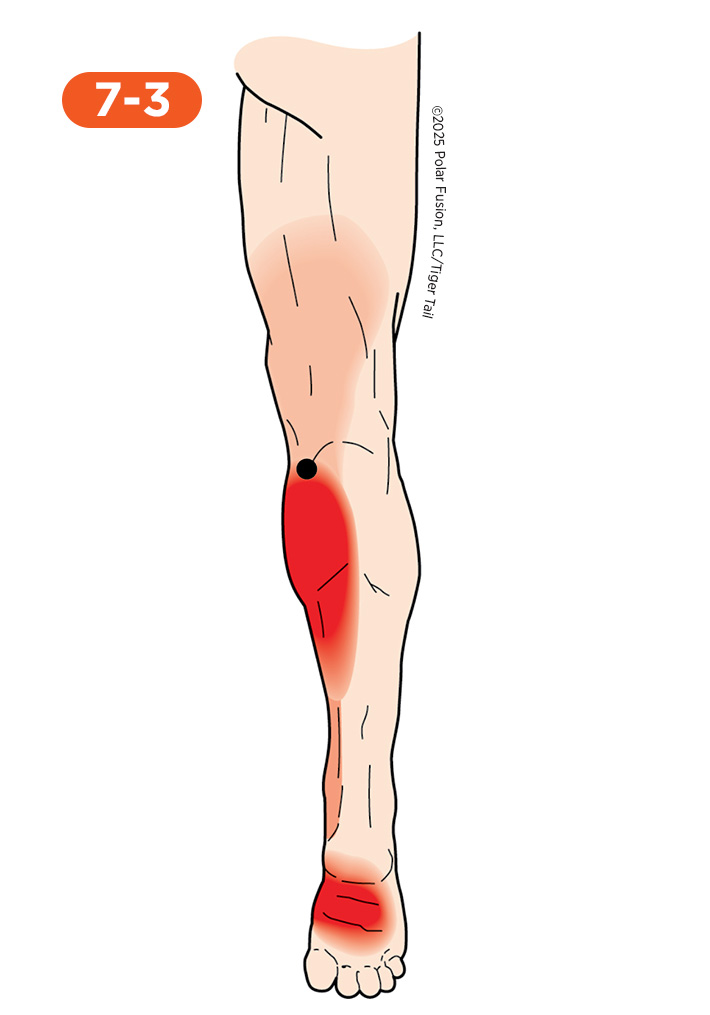
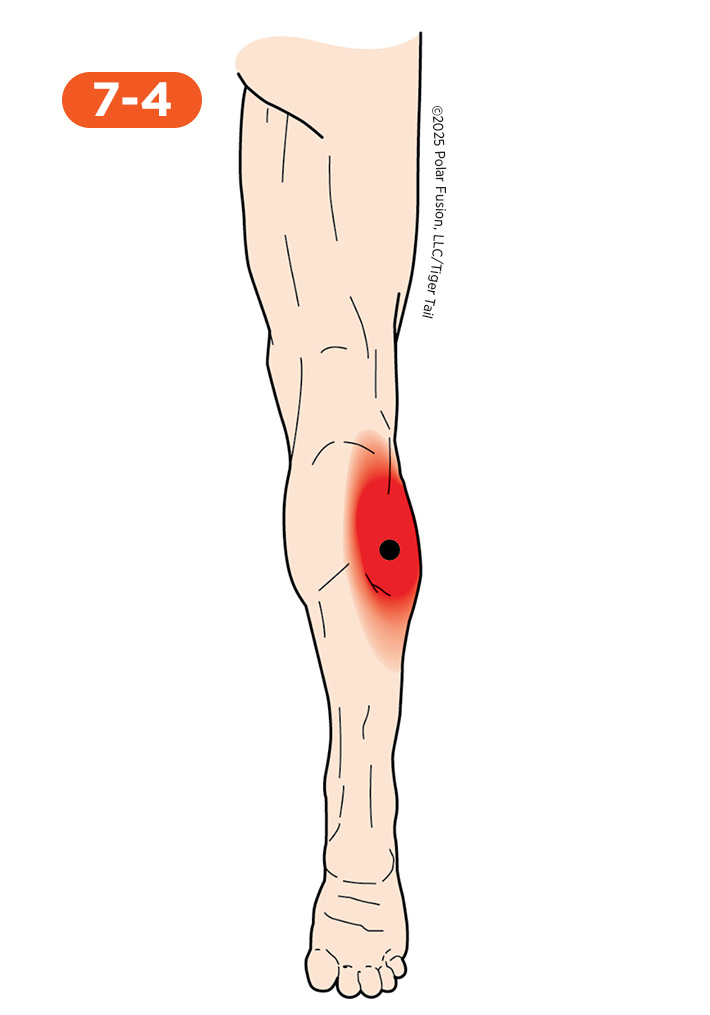
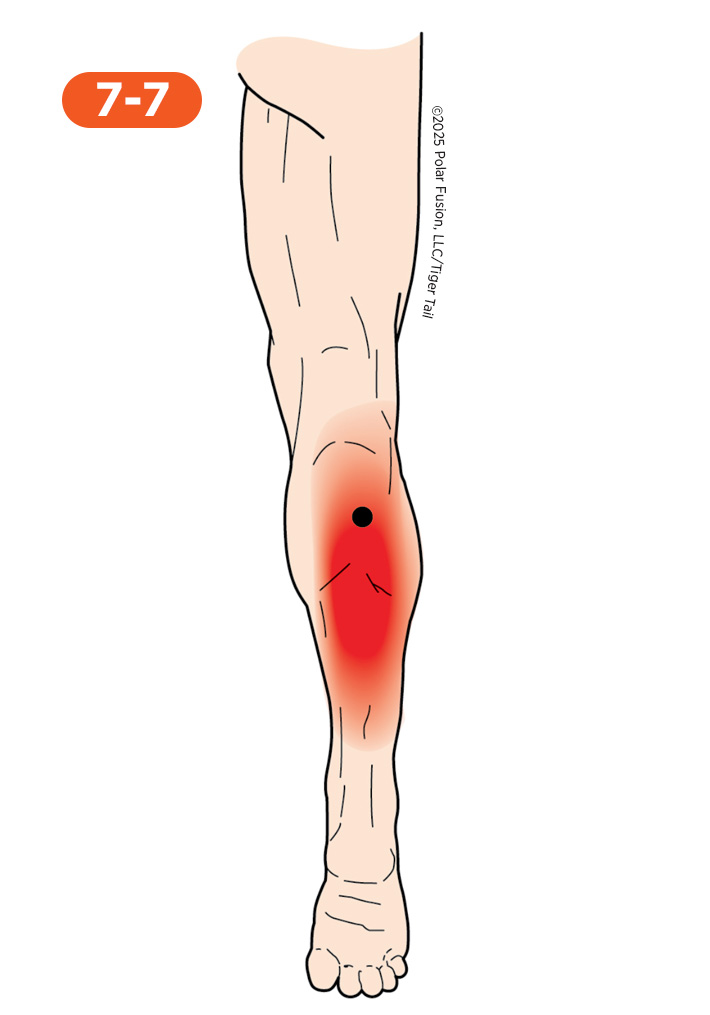
Palpate slowly along the muscle until you find a spot that produces a recognizable ache or a referred sensation. That is your target. Hold firm pressure — not bouncing, not rolling — until the intensity drops by roughly 50%. Only then move to the next point. The Physiopedia overview of trigger points confirms that sustained ischemic compression is more effective than repeated short-duration passes for resolving active trigger points.
How to Do a Calf Muscle Knot Release with Tiger Tail Original™ 18
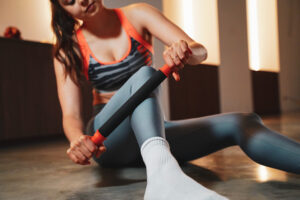
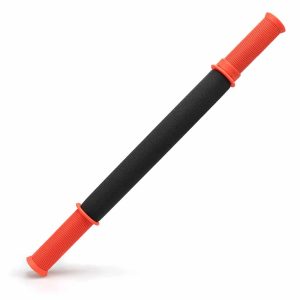
The Original 18 Foam Roller Massage Stick ($39.99) is a firm massage roller stick with a seamless, closed-cell foam surface that delivers consistent, targeted pressure across the calf. Its 18-inch length suits seated self-treatment without awkward shoulder positioning.
Sit on a chair or bench with the target leg extended, heel resting on the floor.
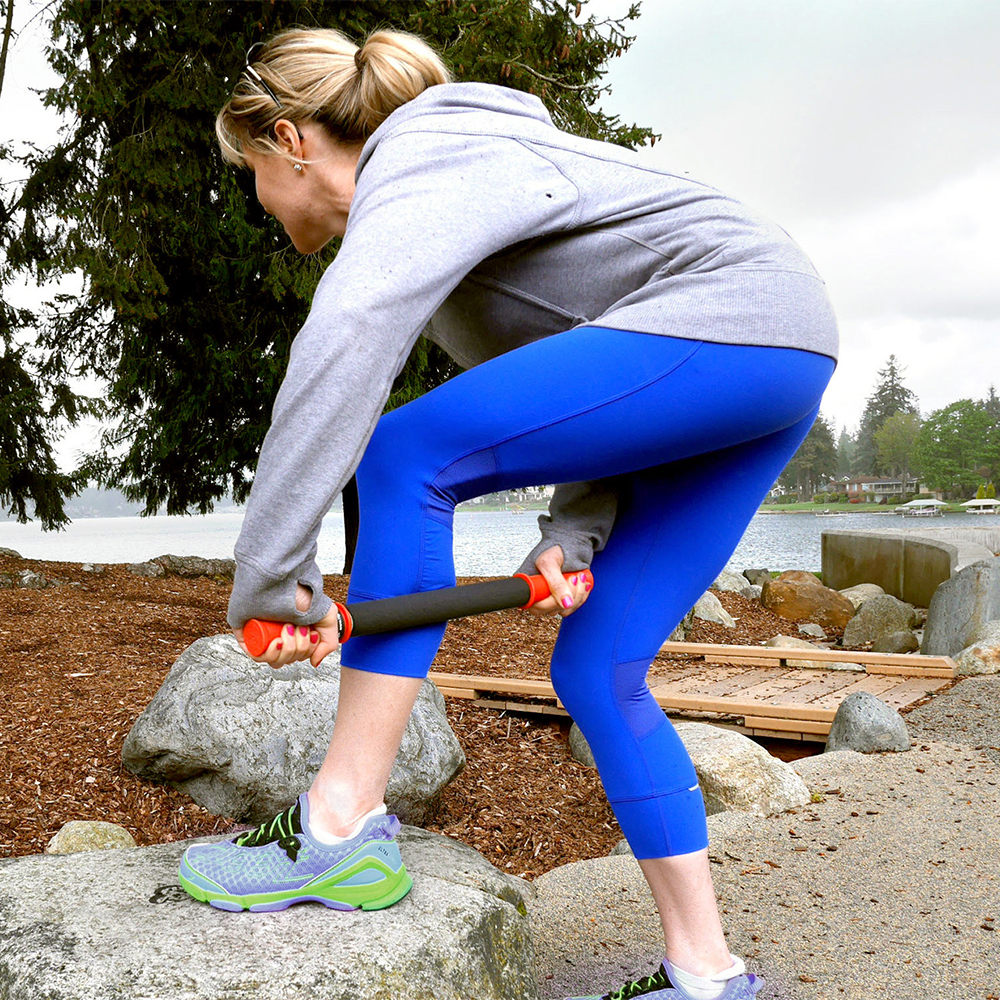
Place The Original 18 behind the mid-calf, the foam roller contacting the muscle belly.
Apply downward body-weight pressure through both handles — aim for a 6/10 discomfort level, never sharp pain.
Locate the knot by rolling slowly (about 1 inch per second) until you feel a dense, tender nodule.
Stop and hold on that spot for 30–60 seconds. Breathe slowly; feel the tissue soften.
Flex and point your foot five times while maintaining pressure — this active movement flushes the area and accelerates release.
Move to the next trigger point and repeat. Spend no more than 90 seconds on any single spot.
Finish with three long, sweeping passes from ankle to knee to encourage lymphatic drainage.
Complete this sequence 1–2 times daily for 3–5 days for an acute knot, or 3 times per week for chronic tightness.
Massage Stick Technique for the Deeper Soleus
To reach the soleus with a massage stick technique, bend your knee to about 90° and place your foot flat on the floor. This position slackens the gastrocnemius, letting the foam roller sink deeper into the underlying soleus. Apply the same hold-and-breathe protocol described above, focusing on the lower two-thirds of the calf where the soleus is most accessible.
Compression Wrap Recovery: Locking In the Results
After any calf muscle knot release session, compression wrap recovery helps reduce post-treatment soreness and maintain circulation. Wrap the calf with Tiger Wraps Self-Sticking Compression Wraps ($12.99) from ankle to just below the knee using moderate, overlapping tension — not tight enough to restrict circulation. Wear for 15–30 minutes post-session while elevating the leg.
Compression wrap recovery works by sustaining gentle pressure on the treated fascia, reducing inflammatory fluid accumulation and helping the tissue stay in its newly released state. Pair this with the Hydro Hug® Hot Water Therapy Pillow Medium ($22.99) applied to the calf for 10 minutes before your next session to pre-warm the tissue and improve compliance.
What to Avoid During Calf Knot Treatment
- Rolling too fast: quick passes stimulate the nervous system rather than releasing the trigger point
- Skipping the soleus: always treat with the knee bent as well as extended
- Ignoring the foot: plantar fascia tension often feeds calf tightness — address both
- Treating through sharp or radiating nerve pain: that signals a different issue requiring professional evaluation
When to Escalate Beyond Self-Treatment
Most calf trigger points respond within 5–7 days of consistent self-treatment. If tightness, swelling, or referral pain persists beyond two weeks, or if you notice sudden calf pain after a sprint or jump, consult a sports medicine physician or physiotherapist to rule out a partial muscle tear or deep vein thrombosis.
Frequently Asked Questions
How long does it take to release a calf muscle knot?
Most active calf trigger points soften noticeably within 30–90 seconds of sustained compression. Fully resolving a chronic knot typically takes 3–7 consistent daily sessions.
Should I roll my calf before or after exercise?
Light rolling before exercise (30 seconds per spot, moderate pressure) can improve range of motion. Deeper trigger point work is best saved for after exercise or on rest days when the tissue is not already fatigued.
Why does my calf knot keep coming back?
Recurring knots usually mean the deeper soleus is not being treated, the root cause (poor footwear, overtraining, prolonged sitting) is not addressed, or sessions are too infrequent to break the tension cycle.
Can I use heat before a calf muscle knot release?
Yes — applying a hot water therapy pillow for 10 minutes before treatment warms the fascia, making it more pliable and allowing the massage tool to penetrate more effectively with less discomfort.
Is it normal for the calf to feel sore after trigger point therapy?
Mild post-treatment soreness lasting 12–24 hours is normal and indicates the tissue was worked effectively. Using compression wraps and elevating the leg after the session helps minimize this response.
Medical disclaimer: This article is for general informational and educational purposes only and is not a substitute for professional medical, veterinary, or fitness advice, diagnosis, or treatment. Always consult a qualified professional before starting a new exercise, recovery, or treatment program, or if you have any concerns about a health condition.
Safety disclaimer: Always read and follow the manufacturer’s instructions, warnings, and usage guidelines for any product or equipment mentioned here. Use tools and techniques as directed and within your own ability; start gently, stop if you feel pain or discomfort, and seek professional guidance if you are unsure. Improper or excessive use can result in injury.